
When you’re shopping for coffee, you will find that it comes in all kinds of different packages, including cans, vacuum packs and bags with valves. Each of these packages has its benefits and drawbacks, but the main goal is always to preserve the freshness of the coffee.
However, there are two types of packaging you will find most often on the store shelf: vacuum-sealed packages and nitrogen-flushed bags with valves. Which of these is better for maintaining the delicious, fresh-roasted aroma and flavor of coffee? Well, we’ll tell you. But first, let’s talk a bit about what we mean when we say nitrogen-lushed and vacuum-sealed.
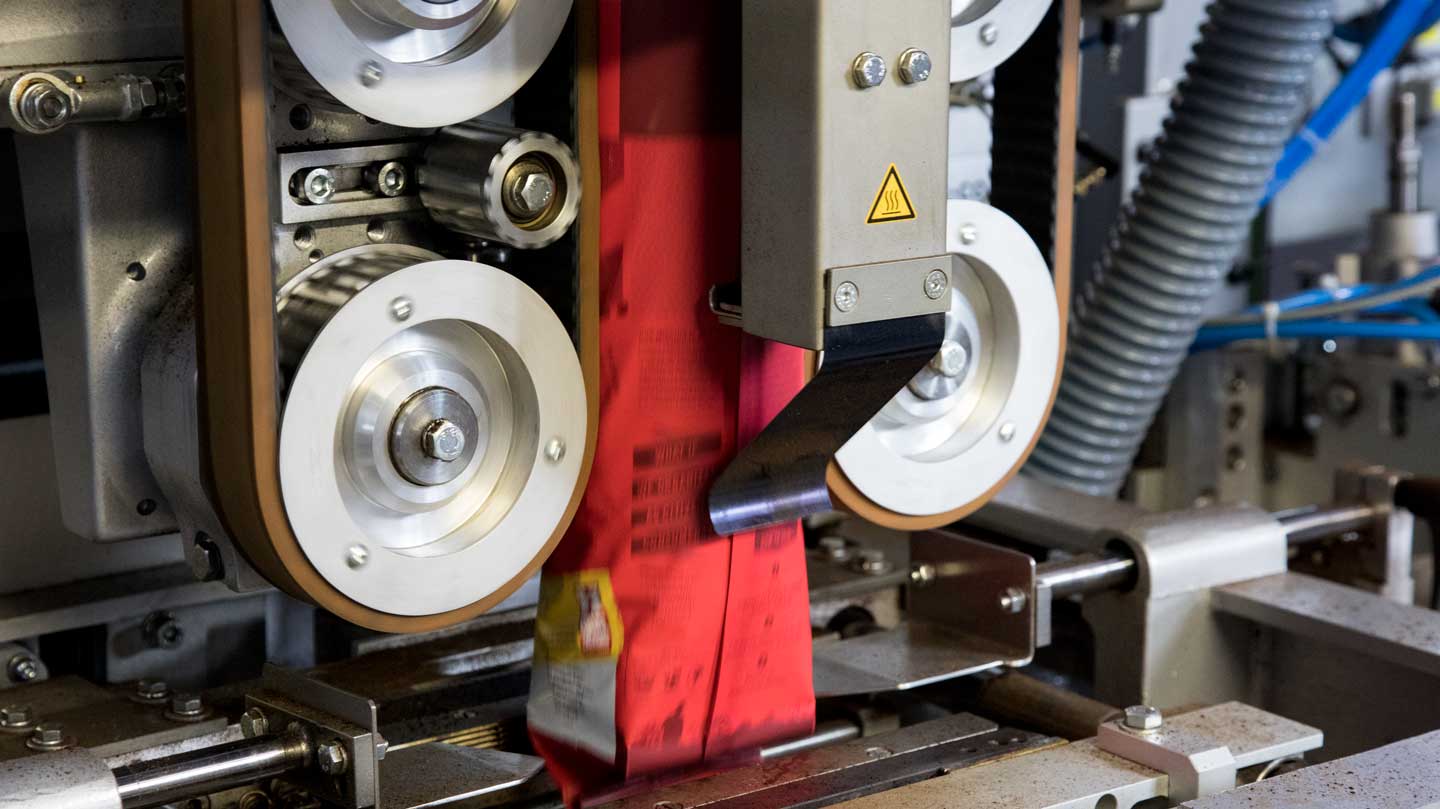
Nitrogen is an inert gas that is both odorless and food-safe. It is also abundantly available. Roughly 78% of the earth’s atmosphere is made up of nitrogen gas, so it’s relatively inexpensive to produce. Nitrogen is also heavier than oxygen, the molecule that causes coffee and many other foods to go stale. So it turns out it’s a great gas to use to flush out oxygen from coffee bags that have just been filled with freshly roasted coffee. A quick seal of the bag with a one-way valve and you have a flavor- and aroma-saving package that will keep your coffee in great shape for when you’re ready to brew the perfect cup.
That’s a good question, for sure. Companies that nitrogen-flush their coffee use a one-way valve on these bags for one simple reason: Coffee off-gasses carbon dioxide for many days after roasting! If we seal the bag and don’t give the gas a path to leave, we will get coffee bag balloons, exploding your freshly roasted coffee all over the place. Nobody wants that. And remember we mentioned that nitrogen is heavier than oxygen? This is important because when all the carbon dioxide — which contains oxygen molecules — starts coming off the beans, it gets pushed out of the bag first. The fact that the valve is one-way means that oxygen can’t get back in.
When coffee is vacuum-sealed, manufacturers remove the air and, thus, oxygen from the coffee bag to protect the flavor and aroma of the coffee; this is the same goal as with Nitrogen-flushed bags. But there is one key difference. With vacuum-sealed bags, manufacturers need to wait for the coffee to off-gas before they vacuum seal the bags. It can take anywhere from 24 – 48 hours for coffee to complete most of its CO2 off-gassing, and during this time, the coffee is exposed to oxygen and going stale. Some manufacturers have devised ways to get around this, including roasting into large super sacs that have one-way valves that allow the coffee to gas off for a few days before being vacuum packaged, but this is the exception rather than the rule.
You can argue the merits of both processes for preserving freshness, but we think the nitrogen-flushed method is the clear winner. That’s why we use this method for our coffee packages. Your coffee gets bagged right out of the roaster, and the one-way seal allows all the freshness-damaging carbon dioxide to leave the package while keeping the aroma and flavor of the coffee in.
Not convinced yet? Next time you’re shopping for coffee, pick up one of each type of bag and taste to see which you feel preserves the coffee’s freshness better. Leave your test results in the comments below.
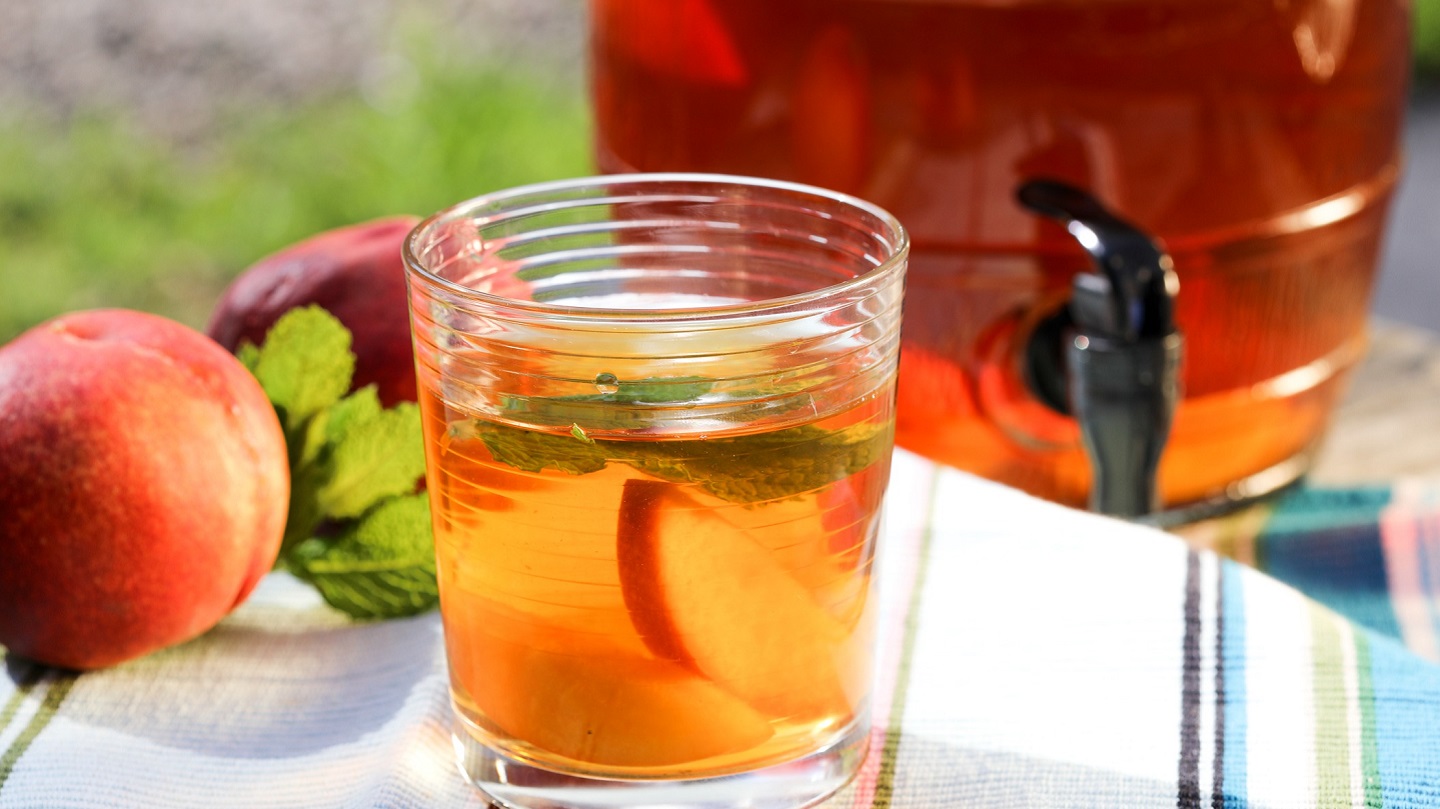
This iced tea recipe makes enough naturally caffeine-free summer ambrosia for a crowd!
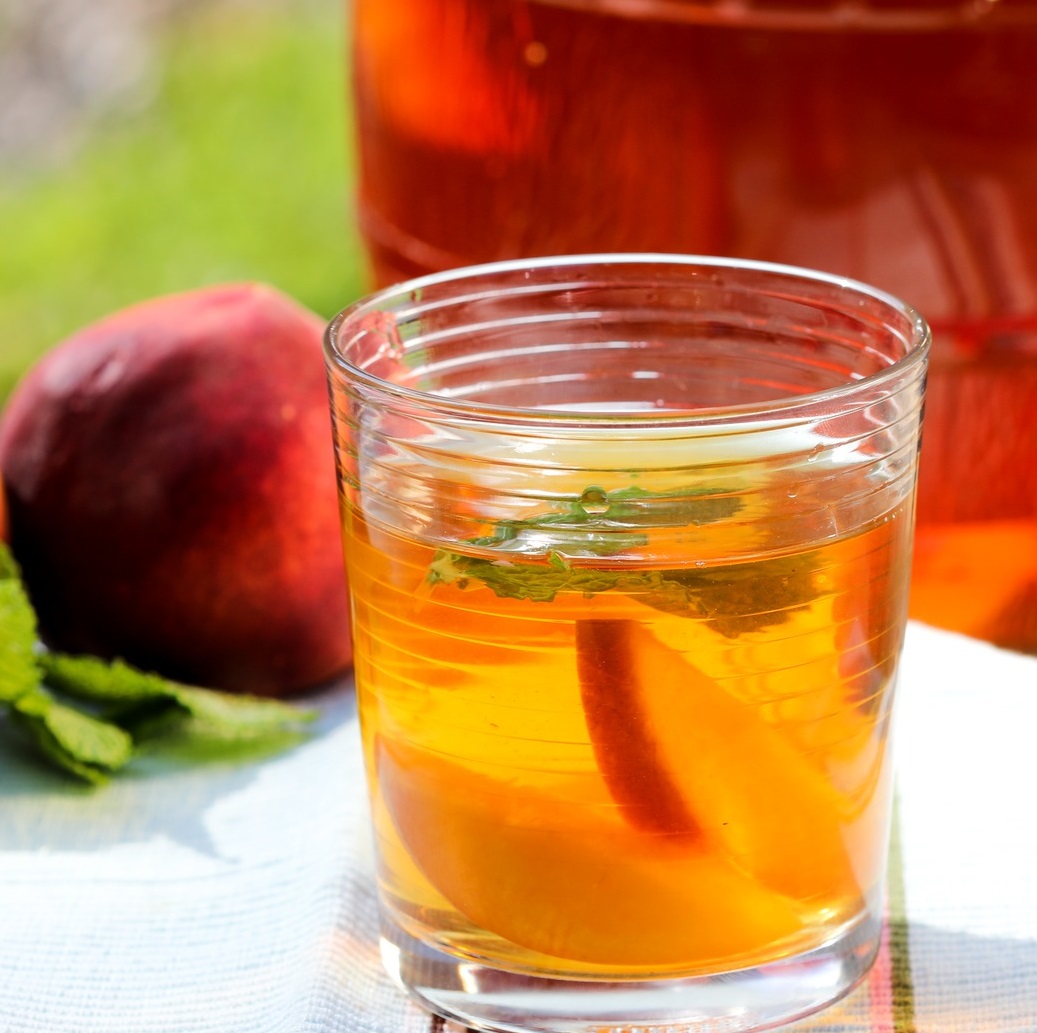
Organic rooibos makes for a mellow herbal iced tea, set off by sweet peaches and mint.
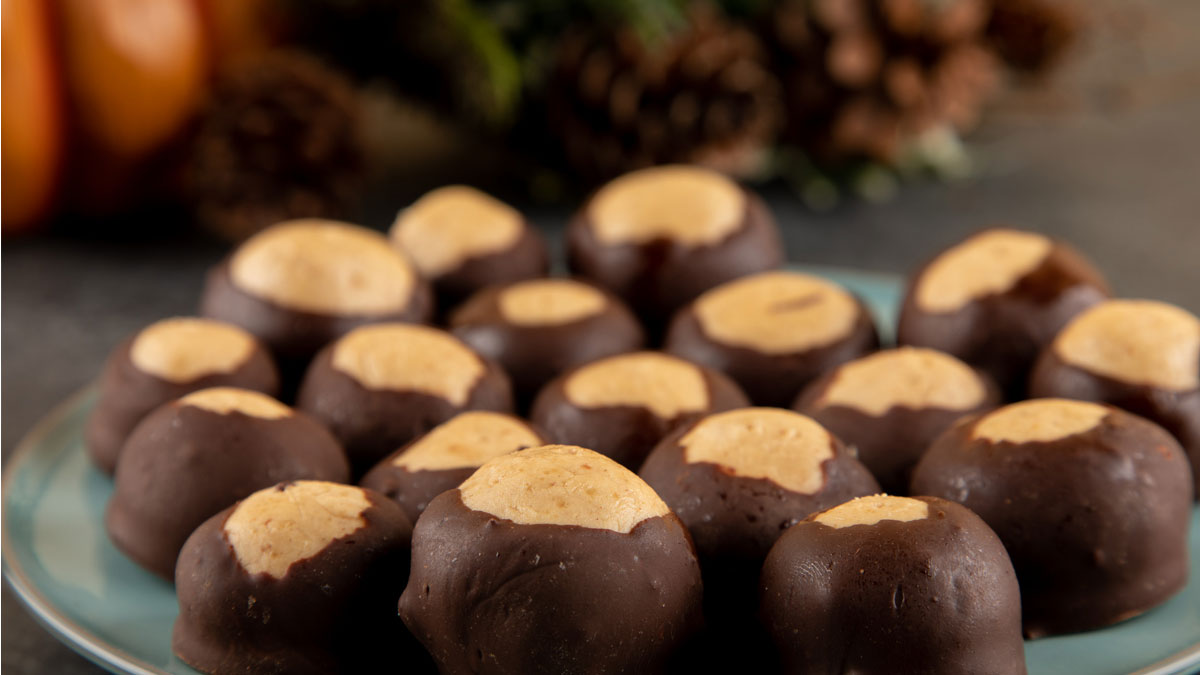
These delicious peanut butter balls taste similar to the peanut butter cups we are all familiar with from our youth. Easy to make, and don't require any baking. They are a great recipe for the holidays or you can make them as a fun activity with kids. And they're gluten-free!
Combine Peanut Butter and Butter into a bowl and beat together. Add in vanilla extract and sugar and combine until you get a nice crumble.

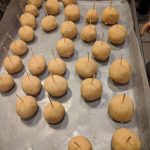
Roll mixture into balls of about 1 heaping tbsp each. Place on baking sheet lined with wax paper or parchment paper.
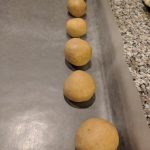
Insert toothpicks into each peanut butter ball and place in the freezer for 1 hour.
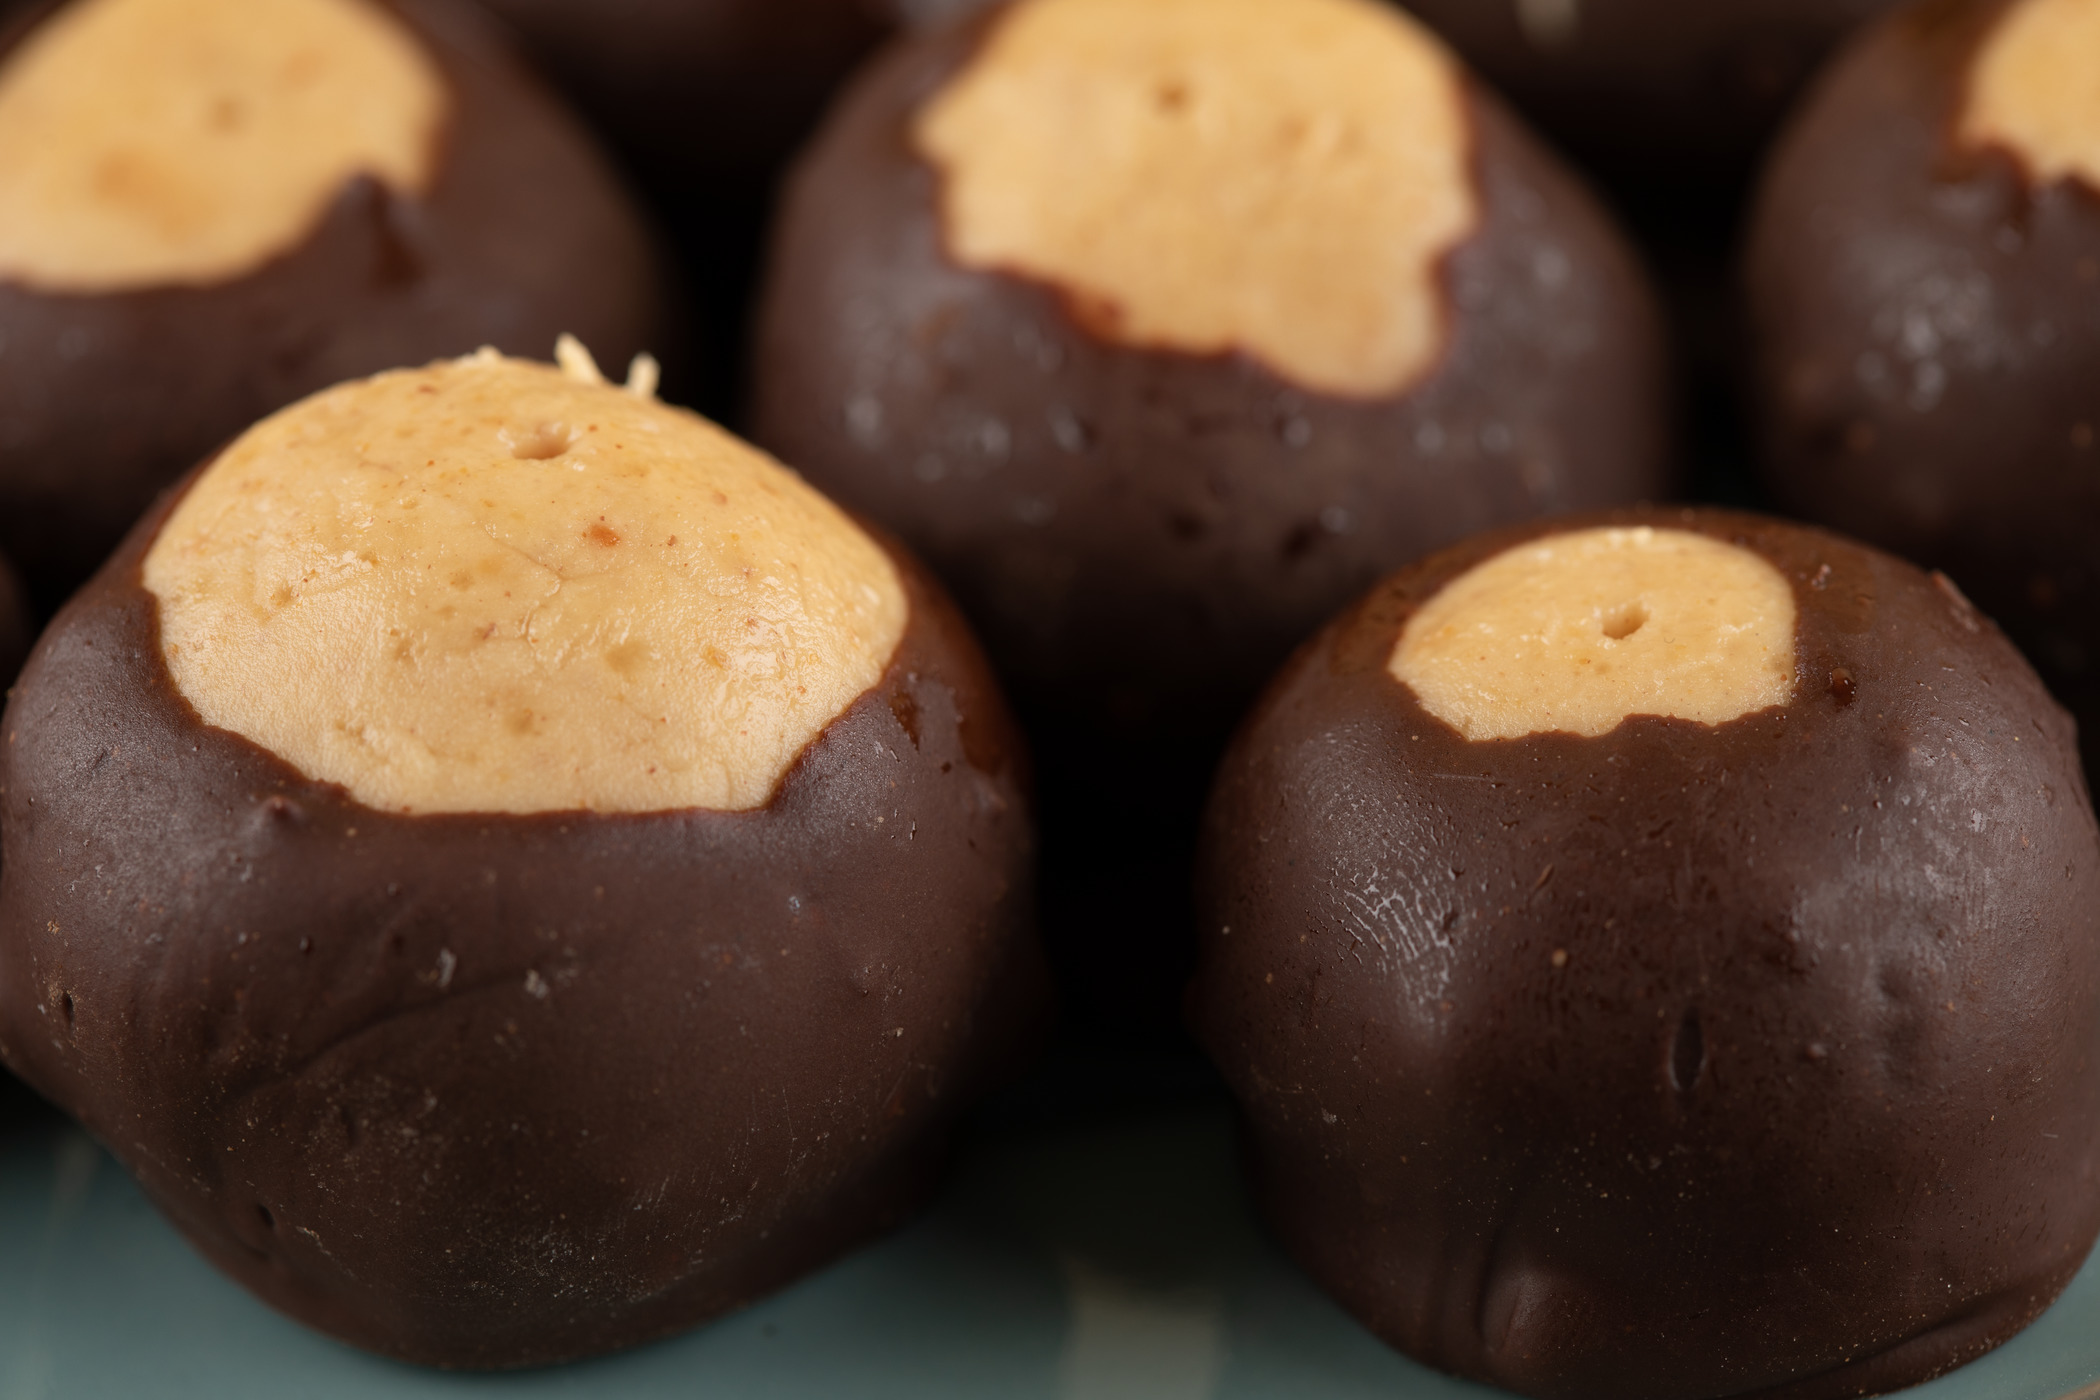
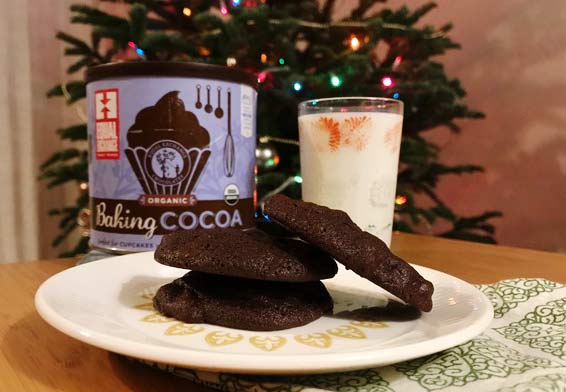
About 20 minutes before removing the peanut butter balls from the freezer, start melting your Equal Exchange chocolate chips in a double boiler or in the microwave. For microwave, heat and stir the chocolate every 30 seconds. Make sure not to overheat. If using a double boiler, you can temper the chocolate to get a shiny surface. Dip each ball into the chocolate leaving a small "eye" of peanut butter at the top.

Place on wax paper to cool.

This fall’s midterm election is sure to be full of emotion, anxiety and a fair bit of tension. Many of us will go to the polls on November 6th to elect new or existing members to Congress to be our representatives in Washington DC. We will vote for those who most closely align with our individual ethical standards and our beliefs about what is important. The choices we make will have a substantial impact on the direction of our country and the world in the years ahead.
For some of us, however, the choices may be limited. The seat may be uncontested in your district, or none of the candidates might represent your values. In this case, your direct options are to vote for the least bad candidate or to get inspired to run for office yourself during the next election. That being said, voting in elections is not the only way to participate in democracy. There are other ways to express your ideals that are just as essential.
While the election this fall is important in shaping the politics of the coming years, there are other votes we all make, every day. These votes are choices, related to where we spend our money, our time and our thoughts. With these everyday votes, we can have an immeasurable impact on our community and the world around us. So while you’re deciding how to vote this fall in the election, I challenge you to also reflect on how you vote each day by running through this simple exercise below.
Think about the products you purchase every day, week or month.
Most of us work, socialize and spend our time in various ways, sometimes productively and sometimes simply for relaxation. How we spend our time is also a vote.
This is a little less concrete than where you spend your money and time. But what you give your attention to is also a form of vote. All of us are bombarded each day with messages, ads and content vying for our awareness. You can’t possibly concentrate on everything happening around you, so you must choose what and whom to pay attention to.
I hope this quick post and exercise is a useful and helpful reminder to reflect on the votes we all make each day. If together we make better choices, we can affect real change in our personal lives and in the world around us.
Please feel free to share in the comments below your thoughts on everyday votes you have made that you are proud of! What do you hope to change this fall?
As we begin 2018, we’re taking a moment to reflect on the accomplishments of the last year. We’re proud to have spent another year working to build a more equitable trade model and bring small farmer-grown products to more people around the country. We couldn’t do what we do without you. Thank you for your support of small farmers and alternative trade, year after year.
Watch the video below to hear some of our 2017 highlights.

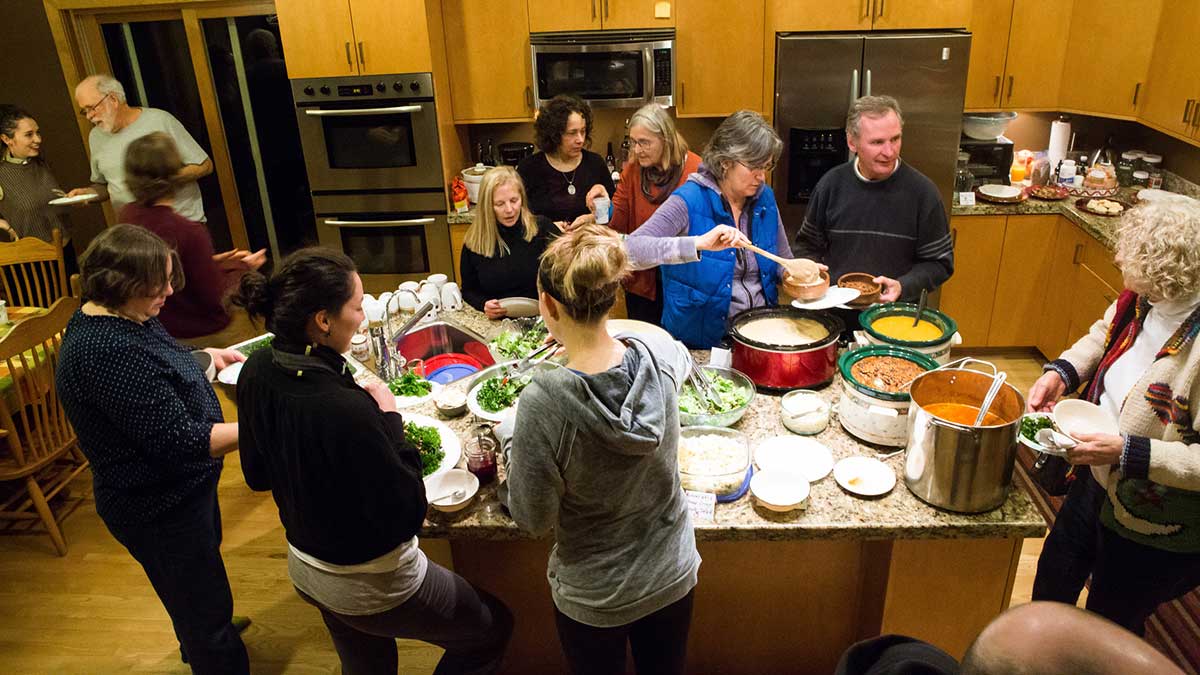
We hope this holiday season is filled with warmth and joy for you and your community. In honor of the tradition of sharing food and celebrating with friends and family, we’re sharing a few of our own tried-and-true holiday recipes, submitted by Equal Exchangers around the country. From old family traditions to inventive new favorites, we hope you enjoy this collection of our personal holiday dishes!
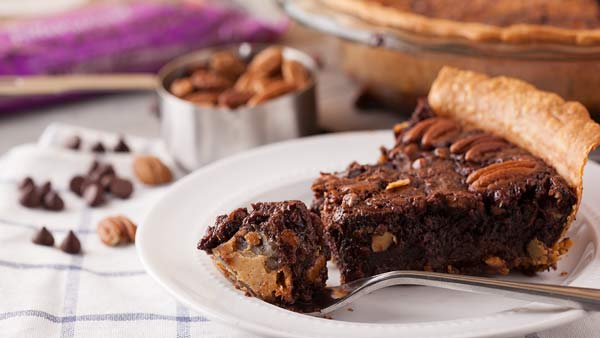
Prepare pie dough either from scratch using your favorite recipe or use a store bought, ready-to-bake pie dough.
Adapted from Simply Scratch.

A lot of effort goes into growing, shipping, roasting and packaging coffee to ensure a great-tasting cup. However, the benefits of those efforts can be lost at the very end of the line: in your own home! The way you store coffee has a profound impact on its taste and shelf life, so here we will explore the best ways to keep your beans fresh and delicious — plus a few pitfalls to avoid.
The first step in learning how to store your coffee is to understand what causes coffee to lose its freshness and flavor. Coffee is sensitive to several environmental factors, including air, moisture, light and heat. Coffee readily absorbs surrounding smells and moisture, which will negatively affect the flavor (“leftover garlic pizza” is not a tasting note you want). Light and heat both introduce energy into the coffee, speeding up oxidation and spoilage.
Now that you understand the enemies of coffee freshness (light, moisture, heat and oxygen), you can do what it takes to minimize their effects. Store your coffee in a cool, dry place, like your kitchen cupboard or countertop. Keep it in an opaque, airtight container — you can even keep your coffee in its original packaging, rolled tight and enclosed in a resealable plastic bag. If you want to go the extra mile, try a vacuum canister to remove excess oxygen and moisture between brews. Be sure to keep your container away from the stove, or above the refrigerator or microwave, as these appliances all generate heat which can affect the beans!
Keep it out of the fridge. This is a common misconception! While refrigerators do keep many things fresh, coffee is not one of them. Coffee will quickly absorb the moisture and smells in your fridge, causing it to spoil and take on the flavors of the foods around it. The cold doesn’t increase the shelf life of the beans, either — room temperature is just fine.
Keep it out of the freezer, too! Similar to storage in the fridge, the freezer does provide help in dealing with some of the elements that damage freshness. But these are often negated by increased exposure to moisture, including moisture caused by condensation as you move coffee in and out of the freezer. Similar to the fridge, there is also the risk of the coffee absorbing smells from the surrounding foods in the freezer.
Avoid buying coffee that is already stale. Not all coffee is packaged equally, and it might have lost freshness before you even get to it! Keep an eye out for a tightly sealed bag that is made to resist light and moisture. The bag should also have a one-way seal to allow CO2 to escape after the roasting process. If the bag lacks a one-way valve, it means the coffee was allowed to sit for a number of days to off-gas before it was packaged. In other words, the coffee went stale before it even went in the bag! You can also look for nitrogen-flushed bags, which help remove excess oxygen from the bag before it’s sealed. Finally, you want to purchase coffee that was roasted as recently as possible. Buy direct from a roaster or look for best-by dates to make sure your coffee isn’t past its prime.
Now that you’re equipped with the knowledge to store your coffee right, you’ll be able to get the best out of your beans every time you brew.
Do you have any other tips for storing coffee? Let us know in the comments below.

When deciding between ground coffee and whole bean coffee, it comes down to a question of convenience vs. the opportunity for better quality. We’ll break down the details below with some questions you can ask yourself to determine which one is right for you.
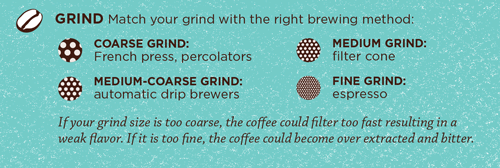
When choosing between whole bean or ground coffee, you’ll first want to consider what brewing method you’ll be using. In general, pre-ground coffee is the right coarseness for drip brewers, like manual pourovers and standard home coffeemakers. Pre-ground coffee will not work well for brew methods which require a fine or coarse grind, such as an espresso maker or percolator unless the grind on the bag specifically states it is ground for that method. If you’re not using a traditional drip/pourover brewer at home and need a fine or coarse grind, you’ll need to select whole bean coffee for the best results.
Once you have established that the grind is correct for your brew method, you will want to determine how quickly you consume coffee. Most coffee is stored in nitrogen-flushed or airtight bags shortly after roasting to preserve freshness. Once the bag is opened and exposed to air, the coffee will start to lose freshness. Ground coffee loses its freshness more quickly due to the increased surface area exposed to air after grinding. For the average coffee drinker, ground coffee that is stored in an airtight container and consumed within 1-2 weeks will maintain enough freshness to brew a good cup of coffee. If you’re not likely to get through your selected quantity of coffee in this timeframe, whole bean coffee might be the better choice.
Suffice it to say, pre-ground coffee is a bit more convenient than whole bean coffee — it’s ready to go right out of the bag. With whole bean, you will need access to a burr grinder, and you will need to measure and grind the correct quantity of coffee for your daily brew. You’ll also need to ensure your burr grinder is grinding to the correct size, and make sure to regularly clean and maintain your grinder for the best results. So if you’re pressed for time, pre-ground coffee might be the better choice. But if you have a little more time on your hands, and you feel a little extra effort is worth it for a better cup, whole bean coffee might be the better option for you.

Do you dream of coffee every night and take pride in brewing the best coffee around? If so, you’ll probably want to go the whole bean route, since it gives you maximum freshness and control. But be careful: you can also end with a worse cup of coffee from whole beans if you don’t grind them correctly. The advantage to pre-ground coffee is the grinding process is highly controlled for uniformity and consistency. If you’re grinding your own coffee, you’ll need to use a burr grinder to achieve the same uniformity and consistency. If you’re willing to put in the extra effort for a proper grind, you can achieve superior results. In addition, by grinding your own beans, you’ll be able to make the micro-adjustments, either coarser or finer, to achieve optimal extraction and the best possible cup.
In summary, when choosing between whole bean or ground coffee for your home brewing experience, consider the following benefits and drawbacks to each option.
Did we miss something in this article? Feel free to leave a comment below.
For a wide selection of both whole bean and ground coffee, visit the Equal Exchange web store.

At Equal Exchange, we believe that “Fair Trade” means “small farmer,” and our relationships with tea growers reflect that. Our tea comes from democratically organized small farmer groups, not plantations or estates. We work directly with farmer groups to pay them a fair price for their tea, offer affordable credit and solve problems collaboratively. The traditional tea market favors large plantations and their wealthy owners, and puts workers in poverty, without agency and with little hope for their futures. Check out this infographic to see how our alternative model is better for farmers – and how the typical tea market (including the Fair Trade tea market!) is hurting them.

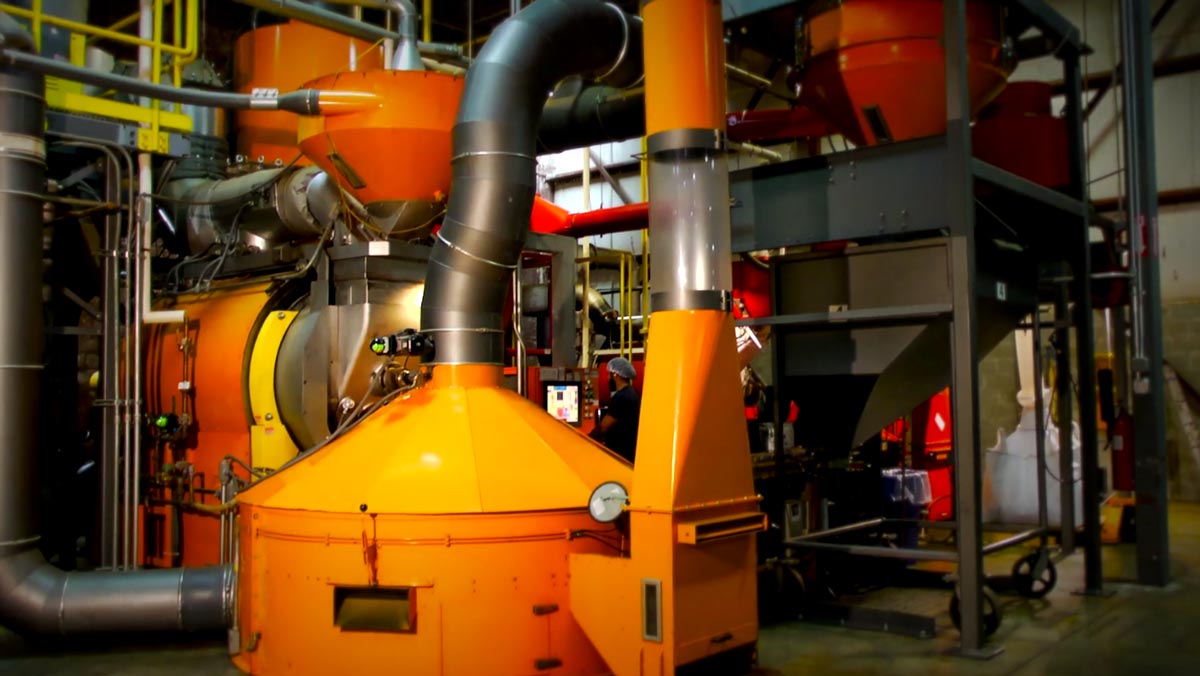
Take a journey through the Equal Exchange Coffee Roasting process and learn what goes into making your morning brew.